Description

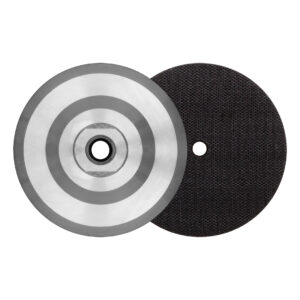
NSI 4″ Snail Lock Foam Backer
The NSI 4″ Snail Lock Foam Backer is a professional-grade tool designed to provide seamless compatibility with Quartz Renew Polishing Pads, making it an essential component for achieving flawless finishes on quartz surfaces. Featuring a secure snail lock design, this backer ensures that your polishing pads stay firmly in place, offering unparalleled stability and precision during use.
Crafted from durable, high-quality foam, this backer is built to withstand frequent use, delivering consistent performance over time. Its lightweight and compact design make it easy to handle, transport, and store, ensuring convenience for both professionals and DIY enthusiasts.
Ideal for quartz surface restoration, the Foam Backer optimizes the effectiveness of polishing pads, helping to produce smooth, even, and professional-grade finishes. Whether you’re tackling small projects or large-scale polishing tasks, this backer is tailored to meet your needs with reliability and efficiency.
Pair it with Quartz Renew Polishing Pads for the best results and experience the difference in quality and performance with this essential polishing accessory.

Quartz Renew Restoration Instructions
Professional Quartz Surface Repair & Refinishing Guide
Recommended System
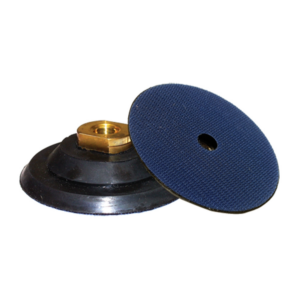
For best results, we strongly recommend using the Quartz Renew Starter Kit W/ 7″ Applicator Pads,
available from Detroit Diamond Tools, along with a variable-speed angle grinder or polisher such as the
FLEX polishing system. The correct tool, speed, and pad size are critical for consistent, professional results.
Tools & Materials Required
- Quartz Renew Starter Kit
- Step 1: Snake Skin Revealer
- Step 2: Resin Polish
- Step 3: Final Polish
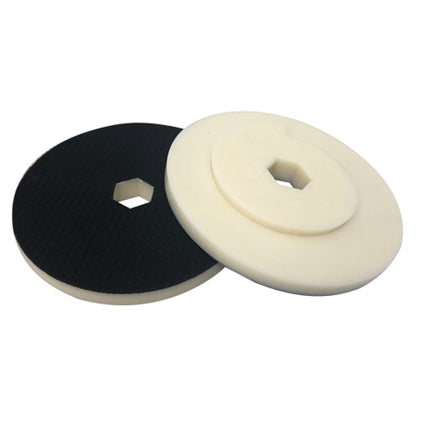
- 7″ Applicator Pads (included in recommended kit)
- Variable-speed grinder or polisher (FLEX Polisher recommended)
- Clean microfiber towels
- Spray bottle with clean water
- Protective gloves and eye protection
Why a FLEX Polisher Matters
- Controlled RPMs to prevent overheating
- Consistent pressure across the surface
- Better torque at low speeds
This dramatically reduces the risk of swirl marks, burn marks, or uneven gloss.
Identifying the Problem Before You Start
Understanding the type of defect is critical before beginning restoration.
1. Acetone Burn Marks (Chemical Etching)
Appearance:
- Dull, cloudy, or hazy areas
- No physical depth
- Often circular or wiped-looking
Cause:
- Acetone, nail polish remover, or harsh solvents reacting with quartz resin
Repair Method:
- Easily repairable with Quartz Renew
- Typically resolved using Step 1 and Step 2, followed by Step 3
2. Surface Scratches (Light to Moderate)
Appearance:
- Fine lines visible at certain angles
- Can usually be felt lightly with a fingernail
Cause:
- Abrasive cleaners, dragging tools, or improper cleaning pads
Repair Method:
- Repairable with Step 2 (Resin Polish)
- Finish with Step 3 to restore full gloss
3. Gouges or Deep Damage
Appearance:
- Clearly visible depth
- Fingernail catches in the defect
Cause:
- Heavy impact, sharp tools, or dropped objects
Repair Method:
- May require professional assessment
- Quartz Renew can improve appearance, but deep gouges may not fully disappear
- Always test in an inconspicuous area first
Step-by-Step Restoration Process
Step 1 – Snake Skin Revealer (Surface Prep & Haze Removal)
Purpose: Removes surface haze, light chemical etching, and prepares quartz for polishing.
- Attach a 7″ applicator pad to the polisher
- Set polisher speed to low–medium RPM
- Apply a small amount of Snake Skin Revealer
- Work in 2 ft x 2 ft sections
- Keep pad flat; do not tilt
- Lightly mist with water if needed
- Wipe clean with a microfiber towel
Step 2 – Resin Polish (Scratch Refinement)
Purpose: Targets resin-based scratches and restores clarity.
- Switch to a clean applicator pad
- Apply Resin Polish evenly
- Polish at medium speed with even pressure
- Continue until scratches are minimized or removed
- Clean residue thoroughly before Step 3
Step 3 – Final Polish (Gloss Restoration)
Purpose: Restores a factory-like, mirror finish.
- Use a clean finishing pad
- Apply Final Polish sparingly
- Polish at low speed
- Buff with a clean microfiber towel
Important Tips for Best Results
- Never exceed recommended speeds — heat can damage resin
- Keep pads clean to avoid swirl marks
- Always test in a small, hidden area first
- Do not dry polish — light moisture improves results
- Let the machine do the work; excessive pressure is unnecessary
We strongly recommend the Quartz Renew Applicator Pro Pack as the ultimate professional system for quartz surface restoration.
This Pro Kit is designed not just to restore gloss and clarity, but to deliver results that meet the expectations of fabricators, installers, and serious DIY professionals.
- Complete polish sequence with no guesswork
Each step, compound, and pad is optimized to work together so you never have to mix and match products from different brands. - Proper applicator pad sizes
7″ pads fit perfectly with the recommended FLEX polisher and cover typical quartz surface areas efficiently, saving time and reducing fatigue. - Faster, more consistent results
The professional-grade compounds and pads produce uniform finishes across large surfaces — no patchy gloss or inconsistent reflection. - Reduced risk of burn marks or swirl patterns
Correct pad density and sequence reduce heat buildup and abrasiveness, preventing common defects caused by improper tools or compounds. - Ideal for professionals and serious DIY users
Whether you’re restoring multiple countertop installations or maintaining high-end projects, this kit delivers repeatable, high-quality outcomes.
Using the Pro Kit from Detroit Diamond Tools ensures you have a fully matched system that maximizes efficiency, improves finish quality, and reduces callbacks or rework.
Bottom line: Using the complete kit ensures compatibility, efficiency, and the highest-quality finish possible.