


Stone countertops are a timeless, durable, and sophisticated addition to any home, offering endless design possibilities. However, they’re not invincible—without proper care, they can stain, etch, or lose their polished finish. That’s why every homeowner needs a comprehensive guide to sealing your stone countertops to ensure long-term protection and beauty.
Sealing your countertops preserves their beauty and longevity, and it’s not a one-time task but an ongoing commitment. In our ultimate guide to sealing your stone countertops, we’ll explain the stone countertop materials that homeowners should seal, why sealing is essential, how often to do it, and how to complete the process step-by-step.
Countertop Materials You Should Seal
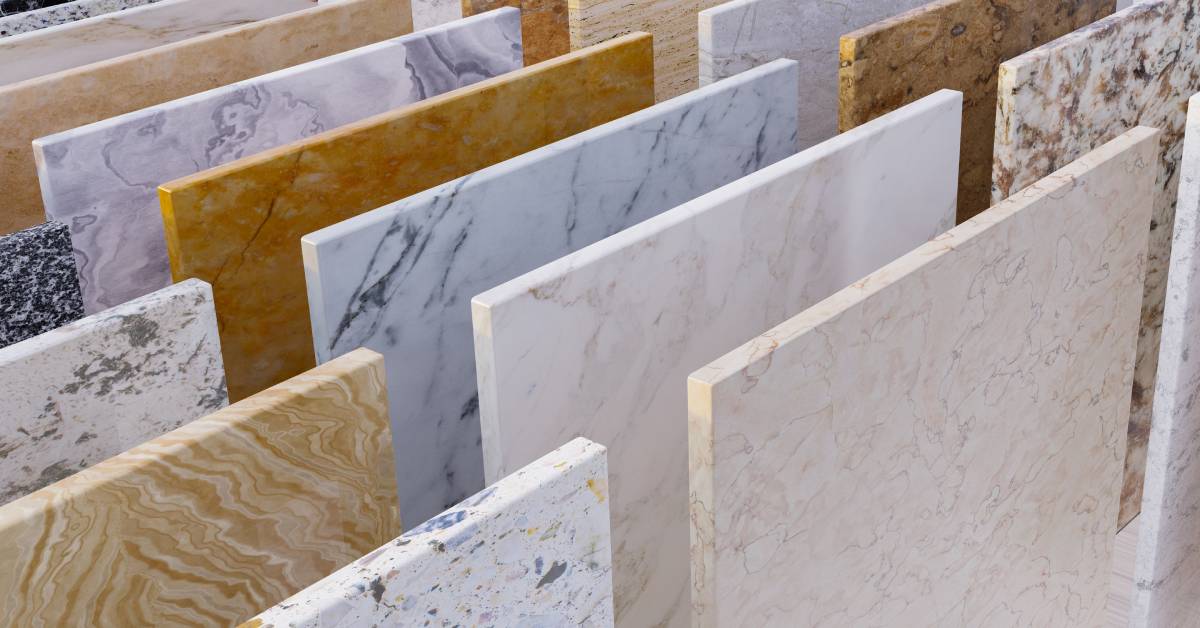
First, which stone countertop materials benefit the most from sealant? In general, if your countertops are a natural stone and could benefit from a sealant. Countertop materials that benefit from sealing include:
- Granite
- Marble
- Limestone
- Slate
- Sandstone
If your countertop absorbs water instead of repelling it, sealing is a smart choice to keep it looking its best.
The Benefits of Sealing Your Stone Countertops
Why should homeowners seal their stone counters in the first place? Applying sealant to stone countertops protects the material against stains, preserves its beauty, and makes cleaning them easier.
Protects Against Stains
Stone countertop sealant creates a strong protective barrier, preventing stains from seeping into the stone’s porous surface. Whether it’s an accidental wine spill during a dinner party or an unnoticed splash of cooking oil, the sealant keeps liquids on the surface, so you can easily wipe them away with no lasting damage. Without sealing, these stains could penetrate deeper, becoming difficult or even impossible to remove over time.
Preserves Natural Beauty
Sealing helps maintain the stone’s vibrant appearance, ensuring your countertop looks stunning for years. Over time, unsealed stone can absorb dirt, oils, and stains, leading to discoloration, dullness, or an uneven appearance. By applying a sealant, you protect the surface and lock in the stone’s natural beauty.
Increases Durability
Sealing adds extra protection to your countertop, guarding it against common wear and tear. It protects against damage like etching, cracking, and gradual erosion from exposure to acidic substances, abrasive materials, or heavy use. This reinforcement helps prevent costly repairs, ensuring your countertops remain beautiful and functional.
Makes Cleaning Easier
With a smooth, sealed surface, cleaning your countertop becomes quick, simple, and stress-free. The sealant prevents liquids, crumbs, and grime from settling into the stone, so all it takes is a quick wipe with a damp cloth to leave your surface spotless. You’ll spend less time scrubbing stubborn stains or worrying about potential damage, giving you more time to enjoy your kitchen.
Can I Seal My Stone Countertops Myself?
Yes, sealing your stone countertops can be a DIY project. Many homeowners enjoy the satisfaction of tackling it themselves, especially since it’s a relatively straightforward process when you have the right tools and guidance.
That said, professionals offer advantages. They ensure even sealant application, have top-tier products, and can recommend special treatments for your specific countertop material. If you’re sealing an expansive space or a highly porous material like marble, professional sealing might be worth the investment.
How Often Do I Need to Seal My Stone Countertops?
The frequency of sealing depends on the type of stone and the amount of use your countertop sees. On average, granite countertops benefit from sealing every 1-2 years, while more porous materials like marble may need attention every 6-12 months.
A simple water test will tell you if it’s time to reseal. Pour a few drops of water onto the surface and watch if it beads up or if the stone absorbs it within minutes. Water soaking in indicates that your countertop requires a fresh coat of sealant.
The Sealing Process
Now it’s time for our ultimate guide to tackle how to seal your stone countertops. With the right tools and preparation, any homeowner can tackle this task themselves to save money and feel the personal accomplishment of protecting their precious stone counter surfaces.
Step 1: Prepare the Countertop
Begin by thoroughly cleaning the countertop to remove dirt, grease, or any contaminants that may interfere with the sealing process. Use a pH-neutral stone cleaner and a soft cloth to avoid damaging the surface.
After cleaning, dry the countertop with a lint-free cloth. If there are any stains present, remove them using stone-safe products specifically for your countertop material. This ensures you don’t permanently seal stains into the surface.
Step 2: Test for Porosity
Before applying the sealant, check if your countertop needs sealing. Sprinkle a few drops of water on various areas of the stone surface and wait for about 10-15 minutes.
If the stone darkens or the water absorbs into the surface, it indicates that the stone is porous and requires sealing. On the other hand, if the water beads on the surface, sealing may not be necessary at this time.
Step 3: Apply the Sealant
Refer to the sealant manufacturer’s instructions for the best results, as specific application methods vary depending on the product. Typically, you’ll pour a small amount of sealant directly onto the countertop and spread it evenly using a clean, soft cloth or sponge.
Work in small sections to ensure even coverage and avoid missing any areas. Let the sealant soak into the stone for the time the sealant manufacturer specifies in the instructions—usually 10-20 minutes. For particularly porous surfaces, you may need to apply a second coat after the stone absorbs the first.
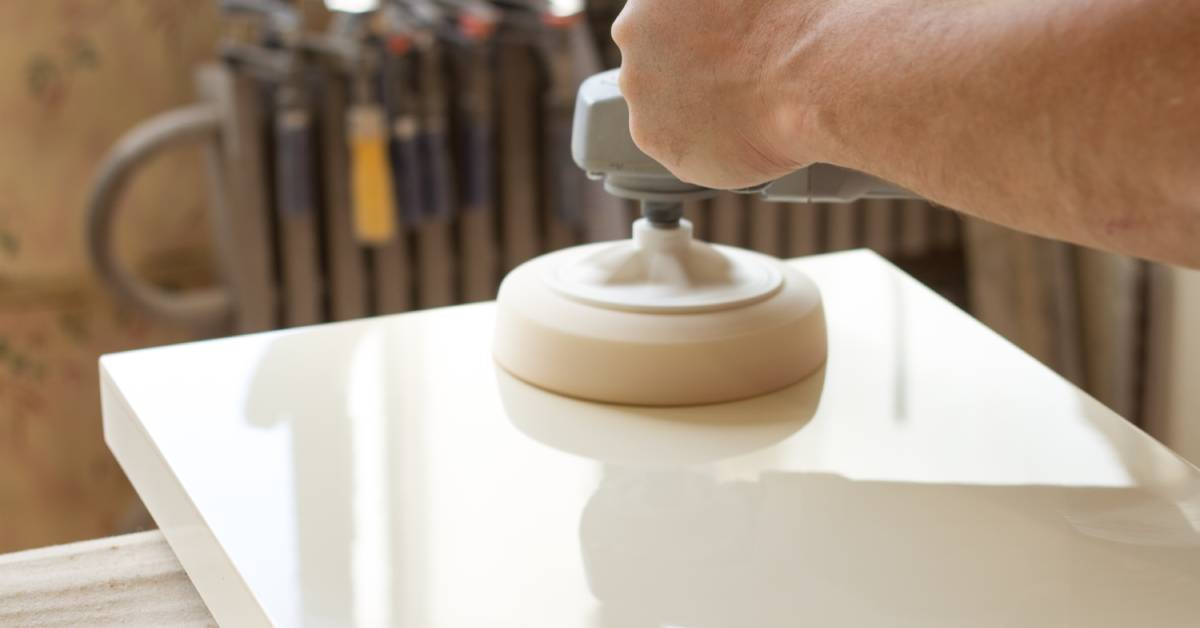
Step 4: Buff Off Excess Sealant
After allowing the sealant to soak into the stone, take a clean, dry cloth and buff away any excess sealant. Use circular motions to ensure the surface is smooth and free of sticky residue. Removing the excess is important to avoid leaving a hazy or uneven finish once the sealant dries.
Step 5: Allow Time to Cure
After applying the sealant and buffing the surface, allow the countertop to cure for 24-48 hours. This gives the sealant enough time to fully penetrate and set into the stone, creating a durable protective layer.
Avoid placing any heavy objects, liquids, or food on the countertop during this period to ensure the sealant cures properly. Once complete, your countertop will be ready for use, now with greater protection against stains, moisture, and wear and tear.
Maintenance Tips
Proper maintenance is key to extending the life and seal of your countertop. Always use pH-neutral cleaning solutions to avoid damaging the sealant and avoid abrasive cleaners that can wear it down over time. These harsh products can strip the protective layer, leaving the surface vulnerable.
For added assurance and durability, perform regular touch-ups on the sealant. Some high-traffic areas, such as those around sinks, cooking spaces, or food prep stations, tend to wear out faster and may need additional attention. Resealing these spots periodically will help maintain the integrity of the surface and prevent moisture or grime from seeping in.
Protect Your Stone with Detroit Diamond Tools
We hope now you understand the many benefits of sealing your natural stone countertops and how you can accomplish this yourself. At Detroit Diamond Tools, we have everything homeowners, renovators, and stone handlers need to keep stone countertops and surfaces pristine and protected.
From stone cutting tools to counter sealants, we have it all. Browse our wide inventory online, or contact our staff if you need guidance from a natural stone-handling expert today!
FAQs
1. How do I know if my stone countertop needs to be sealed?
Generally if a slab of granite, for example, is darker in hue, it will be less permeable because of the pigmentation. At the time of manufacture, a rule of thumb is that if water darkens the stone, the stone needs a sealer.
2. What happens if I don’t seal my stone countertops?
Without sealing, water will penetrate the stone and leave behind watermarks, some small, some large, giving your stone a perpetually dirty appearance.
3. What is the best sealer for granite countertops?
The best sealer for granite countertops is a high-quality, penetrating stone sealer designed for natural stone. Look for solvent or water based formulas that provide long-lasting stain resistance and enhance the granite’s appearance without leaving a residue.
4. How often should I reseal natural stone countertops?
Most natural stone countertops, like granite or marble, should be resealed every 6 to 24 months. The frequency depends on the stone’s porosity, how often you use the surface, and the type of sealer applied. Use a water test to determine when resealing is needed.