Innovations That Have Changed Material Handling Equipment
Material handling has evolved with groundbreaking advancements that enhance efficiency, safety, and productivity in industrial operations around the world.
FREE SHIPPING FOR ALL ORDERS ABOVE $250 | Except LTL Shipments

Material handling has evolved with groundbreaking advancements that enhance efficiency, safety, and productivity in industrial operations around the world.
Deciding between manual and automatic tile cutters? Compare their features, efficiency, and ease of use to choose the right tool for precise tile cutting.
Prevent errors in natural stone projects and achieve flawless results and long-lasting pieces with the following advice on proper techniques and care.
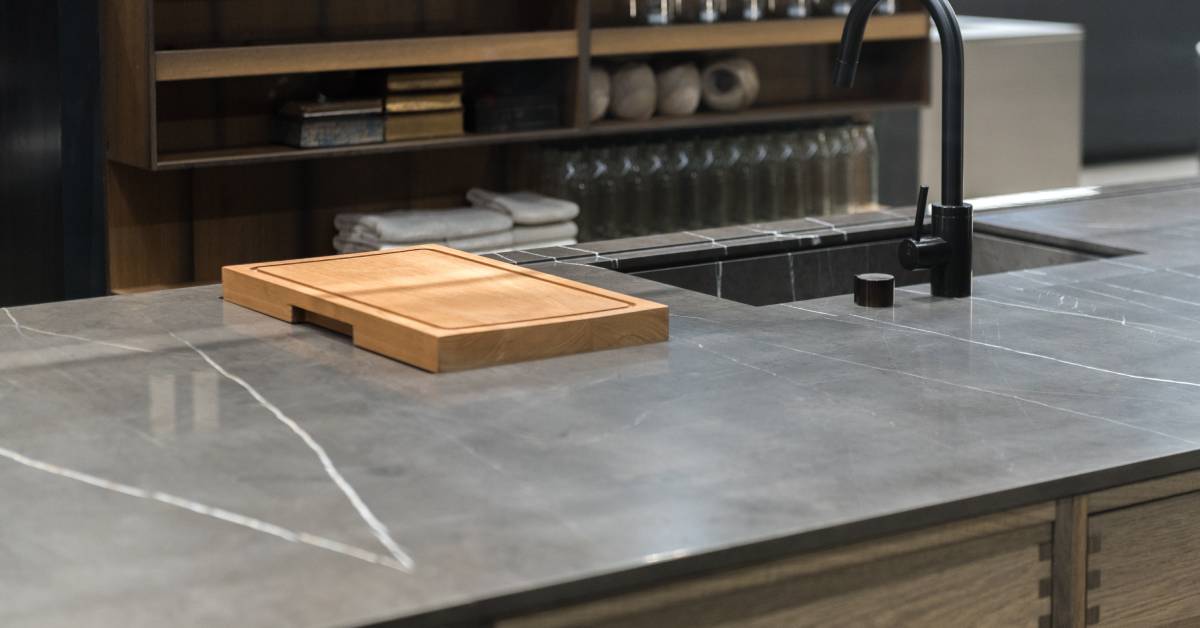
Natural stone countertops are a popular choice for kitchens and bathrooms as they’re incredibly durable and offer a sharp, aesthetic appearance. However, maintaining their beauty requires proper care and attention, and knowing how to polish natural stone countertops properly is essential.
Polishing is integral for stone countertop suppliers and installers to keep their products pristine and healthy for long periods. Below, we’ll explain how to properly polish natural stone countertops, including what tools you’ll need and some common mistakes to avoid.
Understanding which type of natural stone you’ll be working on before polishing is crucial, as not all materials are the same. Some of the most common natural stones for countertops include:
Each type has unique characteristics and requires specific care techniques. Granite, for instance, is harder and more resistant to scratches, making it a popular choice for busy kitchen environments. Marble, though softer, offers unparalleled elegance and sophistication. Understanding these differences is crucial for proper maintenance and polishing.
Polishing natural stone is an art form that involves skill and precision. It begins with assessing the stone’s current condition, including any surface damage or dullness. The polishing process can commence after an evaluation.
During polishing, professionals use abrasives to remove a micro-layer of the stone, revealing a fresh surface beneath it. It’s a gradual process, starting with coarser abrasives to address deeper imperfections and moving to finer ones for a mirror-like finish. This step-by-step method ensures you maximize the stone’s natural beauty without compromising its structure.

Polishing natural stone requires the right tools and materials to achieve professional results. Here’s a list of essential equipment for the job and how to use them:
Luckily, you can find all these tools and materials at Detroit Diamond Tools! We’ve got everything you need to make your stone counters shine like never before, from stone polishing pads to sealers.
Now that you’ve got your tools and materials in hand, we’ll show you how to properly polish natural stone countertops step by step.
Preparation is the key to success in any process, including polishing stone counters. Begin by clearing the surface of any items and thoroughly cleaning it with a pH-neutral cleaner.
Doing so ensures that no dirt or grime interferes with the polishing process. Make sure to dry the surface completely before moving on to the next step.
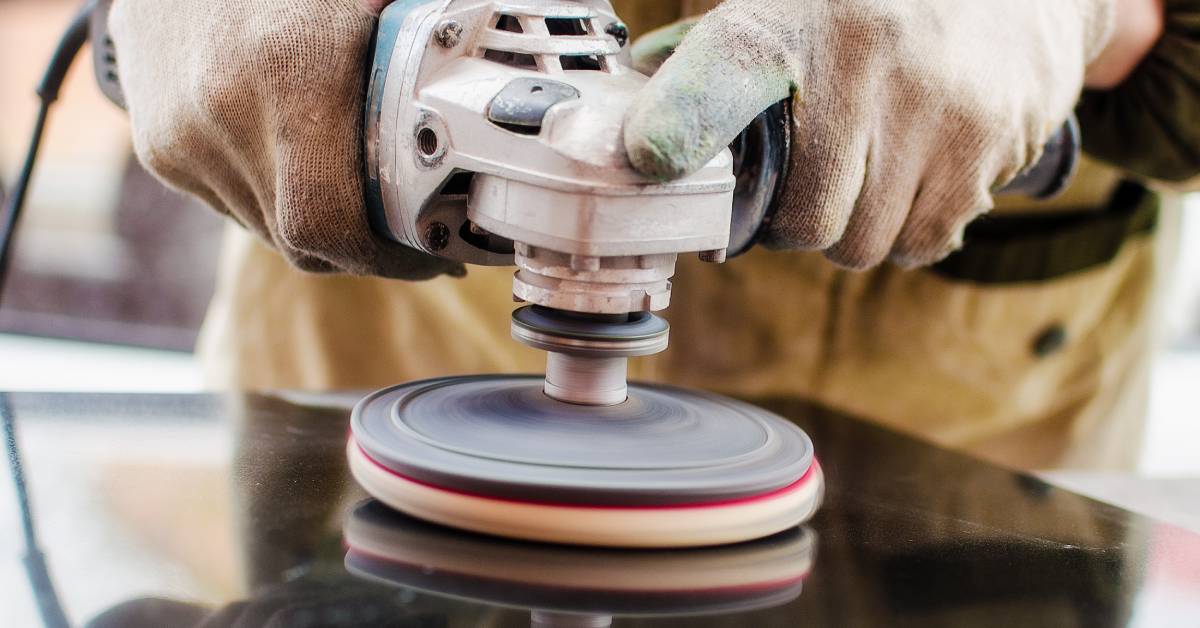
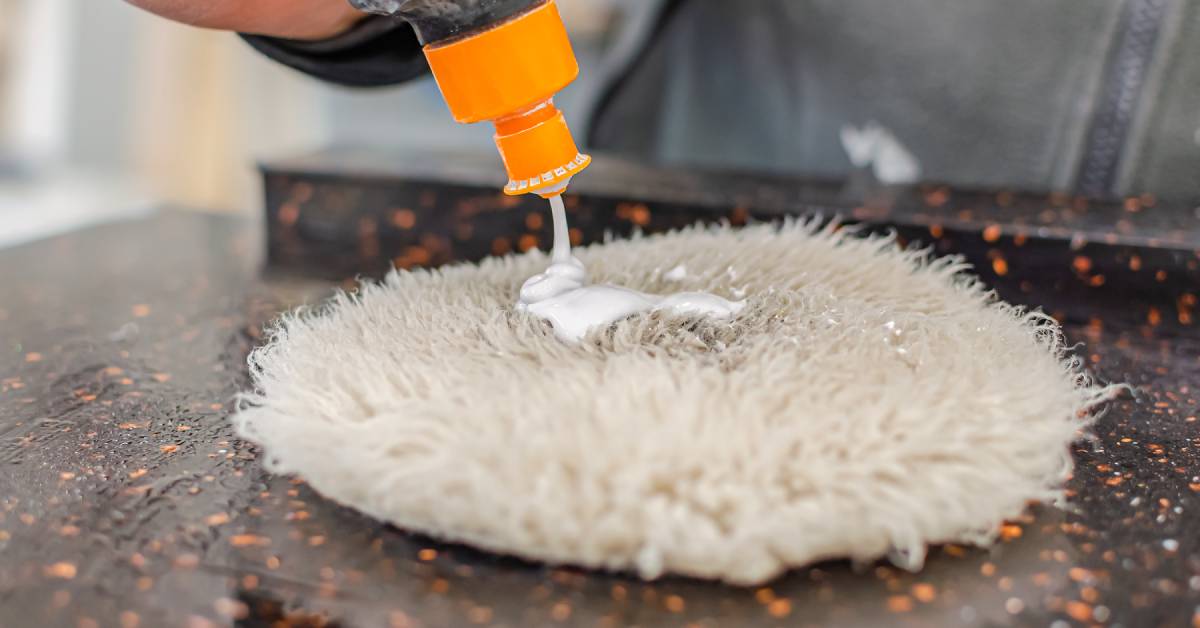
Now that your surface is clean and dry, it’s time to start polishing. Attach the appropriate polishing pad to your machine and start with a low grit.
Apply the pad to the countertop in a consistent, overlapping pattern to ensure even coverage across the entire surface. Keep the pad moving to avoid creating heat spots or uneven areas. Gradually increase the pad’s grit level, moving from coarse to fine until you achieve the ideal shine.
You still have one more step to complete after polishing the entire surface—applying a stone sealer. This step prevents future stains and enhances the stone’s natural resilience. Allow the sealer to dry completely before using the countertop to ensure long-lasting beauty and durability.

While the process may seem straightforward, it can go wrong in many ways. We’ll give you some common examples of polishing mistakes to avoid to ensure a smooth and effective polishing process.
One of the most frequent errors one can make during polishing is selecting the incorrect type of polishing pad or machine setting. Using an inappropriate pad can scratch or dull the surface, negating the benefits of polishing.
Always consult the manufacturer’s recommendations to ensure you are using the correct tools and settings for your specific surface type. Consult a stone countertop expert if you don’t have the manufacturer’s recommendations and still aren’t sure.
As we mentioned, preparation is the key to success. However, polishers often try to cut corners and get right to the polishing step. Neglecting the cleaning step will mean that any dirt or grime on the surface will embed into the stone, leading to unsightly scratches and imperfections. Make sure to remove any dust, dirt, or residue before you begin the polishing process to achieve the best results.
You can’t forget the critical sealing step after polishing. Failing to seal the surface after polishing leaves it vulnerable to stains and damage. Sealing protects the surface from spills and wear, extending its longevity and maintaining its appearance. Be sure to follow up your polishing with a proper sealing treatment to safeguard your investment.
While it may seem the more polishing, the better, you can overdo it and make the surface worse than when you started. Excessive buffing can lead to uneven surfaces and can wear down the material over time. Strike a balance and polish only to achieve the desired shine without risking damage.
Testing your approach on a small, inconspicuous section before polishing a large area is wise. Doing so allows you to see how the surface reacts to your chosen polishing method and tools. You can adjust your technique before tackling the entire surface if you notice any adverse effects.
Polishing natural stone countertops may seem daunting, but it’s achievable with the right knowledge and tools. Understanding the stone’s unique properties and following a careful polishing process maintains the stone’s beauty and functionality.
Turn to Detroit Diamond Tools for all your polishing needs. We offer a comprehensive range of high-quality tools and supplies—such as stone polishing pads—for professional results. Visit our website to explore our selection and elevate your stone care.
To polish natural stone countertops properly, you’ll need a variable-speed grinder or polisher, diamond polishing pads, and stone sealer. The variable-speed grinder allows you to control the polishing power, while diamond pads help you work through different grit levels, from coarse to fine. Don’t forget safety gear like goggles and gloves to protect yourself from dust and debris. After polishing, apply a pH-neutral cleaner and finish with a high-quality stone sealer to protect your surface.
Before polishing, thoroughly clean your natural stone countertops using a pH-neutral cleaner. This ensures there’s no dirt or grime left behind that could cause scratches. Wipe the surface gently with a soft cloth, and dry it completely. Cleaning prevents contamination during the polishing process, ensuring a smooth and flawless finish when polishing your countertops.
Polishing natural stone countertops isn’t an everyday task but should be done every 6 to 12 months depending on the usage and wear. Regular maintenance like cleaning and sealing every few months will keep your countertops looking pristine. You only need to polish them when the surface starts to lose its shine or show signs of dullness.
No, marble and granite have different characteristics. Granite is harder and more durable, so you can use slightly more aggressive abrasives and polishing pads. Marble, being softer, requires a more delicate approach. Use fine-grit pads and avoid harsh abrasives to prevent scratching or etching of the surface. Always ensure you’re using the right tools for the type of stone you’re working on to maintain its beauty.
We inventory products you see on our site
On all ground shipping Items
We'll beat the price from any competitor
Dedicated sales & support team
